Creating a Rust Project for Raspberry Pi Pico in VS Code (with extension)
We’ve already created the Rust project for the Pico manually and through the template. Now we are going to try another approach: using the Raspberry Pi Pico extension for VS Code.
Using the Pico Extension
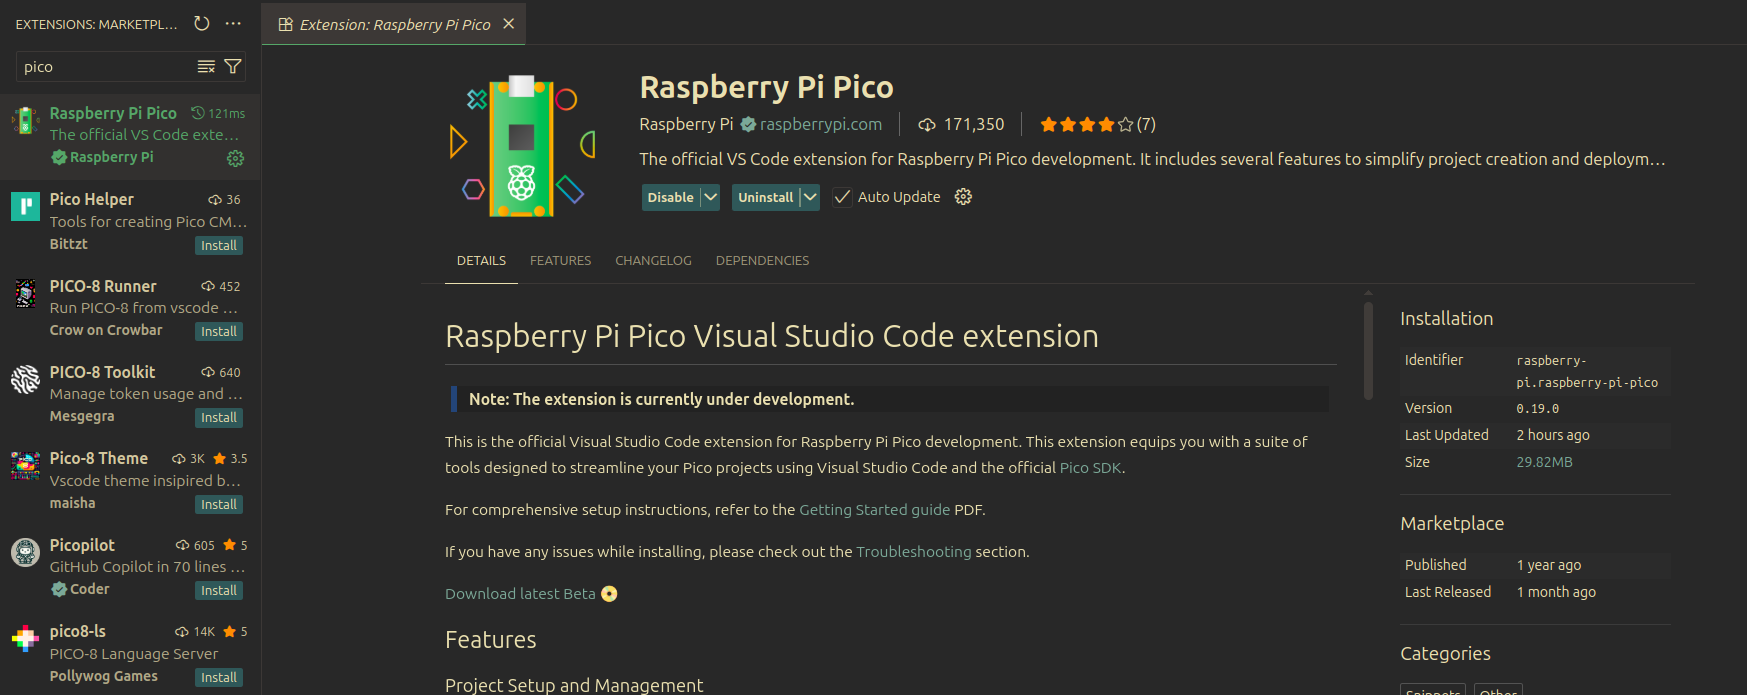
In Visual Studio Code, search for the extension “Raspberry Pi Pico” and ensure you’re installing the official one; it should have a verified publisher badge with the official Raspberry Pi website. Install that extension.
Just installing the extension might not be enough though, depending on what’s already on your machine. On Linux, you’ll likely need some basic dependencies:
sudo apt install build-essential libudev-dev
Create Project
Let’s create the Rust project with the Pico extension in VS Code. Open the Activity Bar on the left and click the Pico icon. Then choose “New Rust Project.”
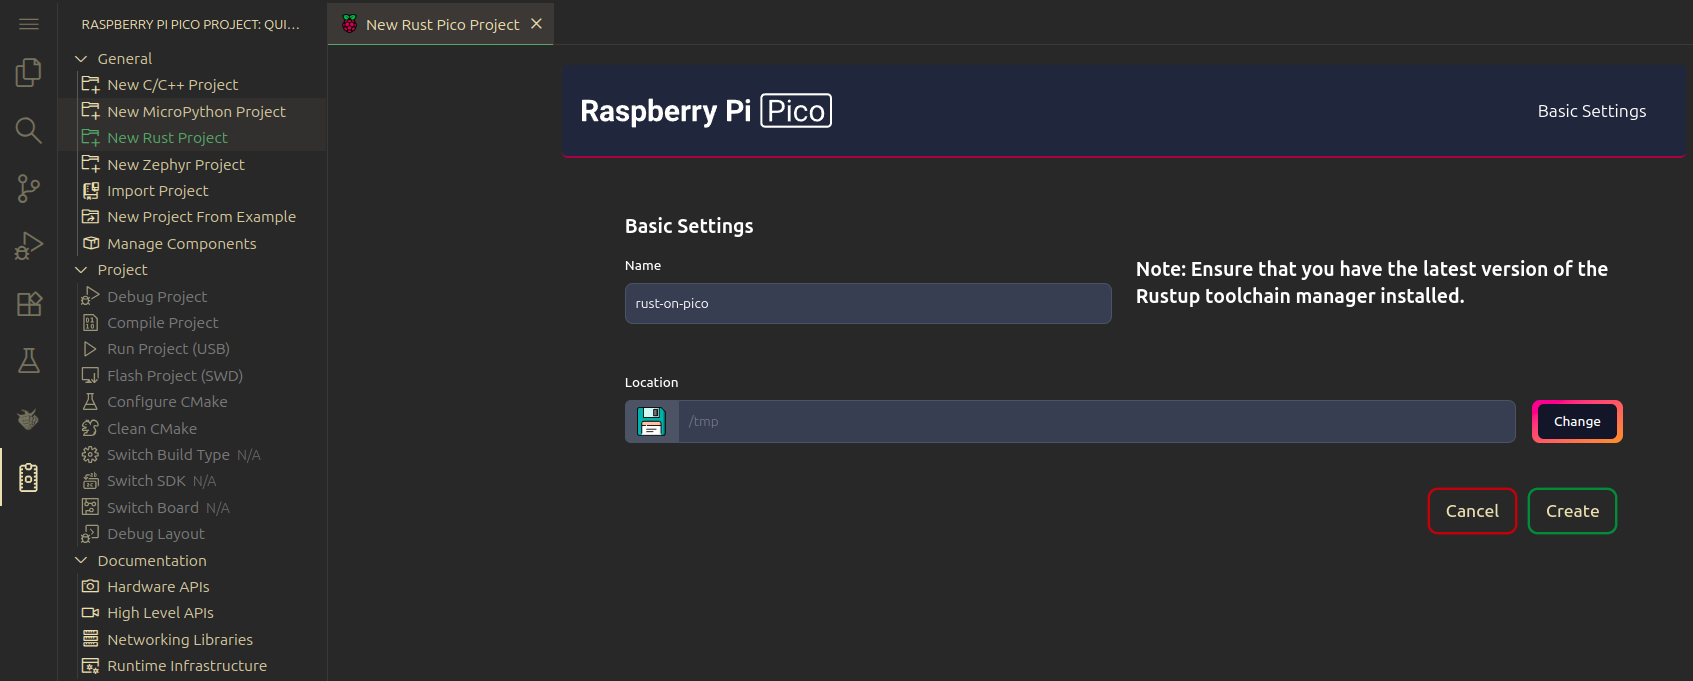
Since this is the first time setting up, the extension will download and install the necessary tools, including the Pico SDK, picotool, OpenOCD, and the ARM and RISC-V toolchains for debugging.
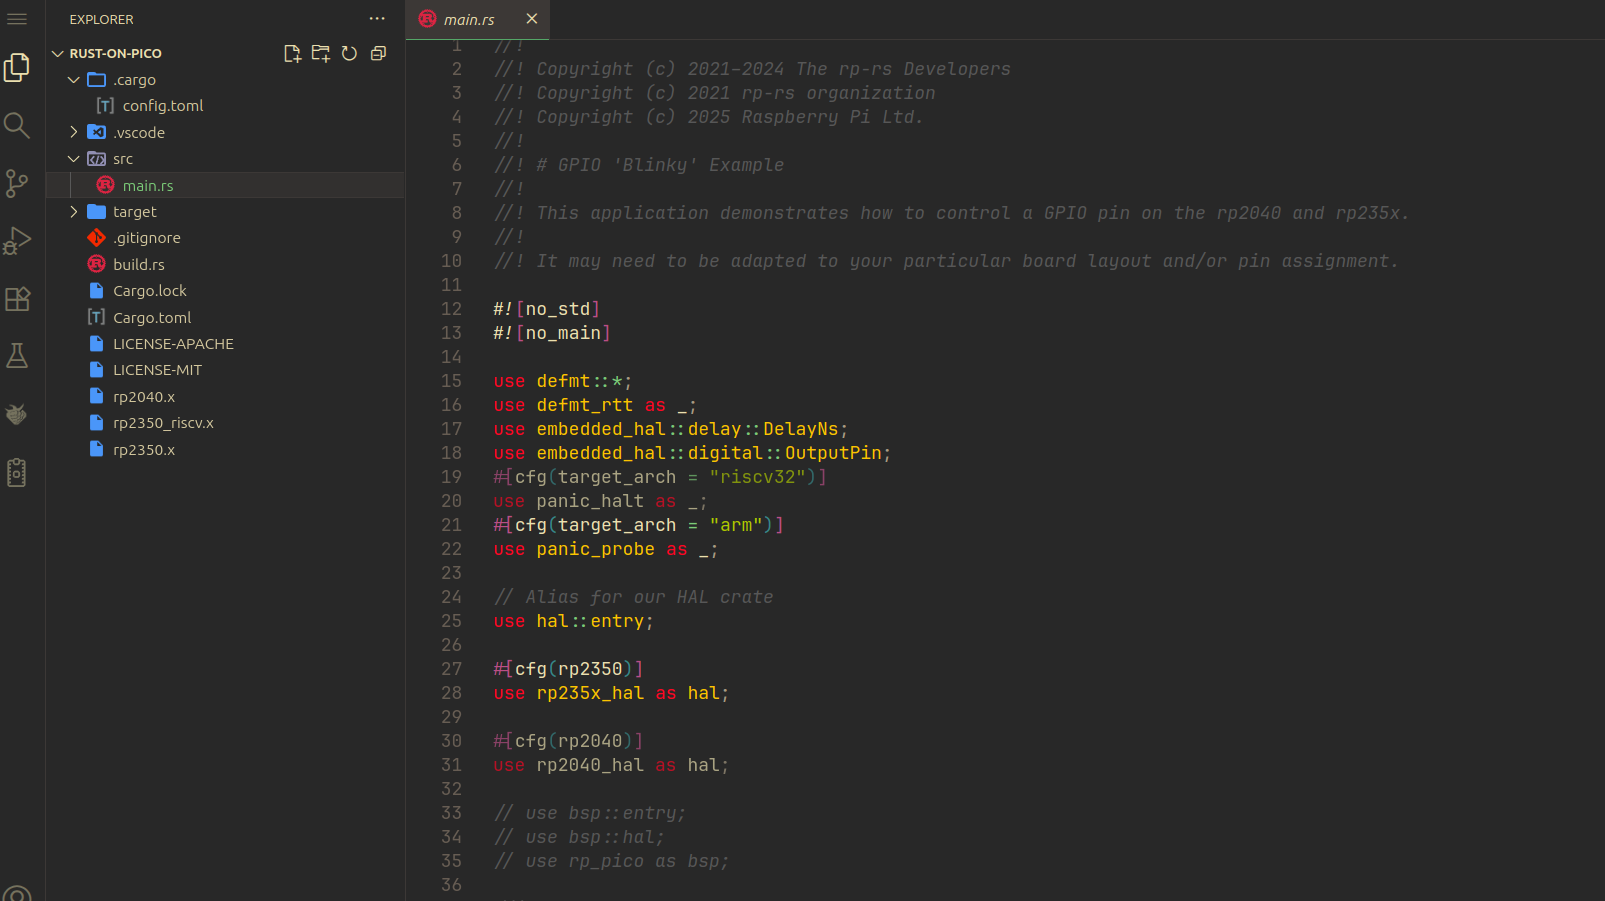
Project Structure
If the project was created successfully, you should see folders and files like this:
Running the Program
Now you can simply click “Run Project (USB)” to flash the program onto your Pico and run it. Don’t forget to press the BOOTSEL button when connecting your Pico to your computer. Otherwise, this option will be in disabled state.
.png)
Once flashing is complete, the program will start running immediately on your Pico. You should see the onboard LED blinking.